Interlocking paving stones are a classic way to add character, style, and functionality to your landscaping. While the installation of interlocking paving stones may seem straightforward, it is a very complicated and calculated process. Blooms Landcare always wants our clients to be well informed about the installation process and also when to hire a professional. Here is a fundamental guide to the installation process of interlocking paving stones, and why you absolutely should hire a professional.
The Tools
To install interlocking pavers, you will need some very specific tools. Many homeowners don’t have these tools lying around the garage. The cost to purchase or rent the necessary tools may be more expensive than hiring a professional. You will need the following:
- Wheel Barrow
- Shovels
- Rake (with grading capabilities)
- Vibrating Plate Compactor
- Pipe and 2×4
- Rubber mallet
- Masonry saw
- Splitter
- Broom
The Installation Process
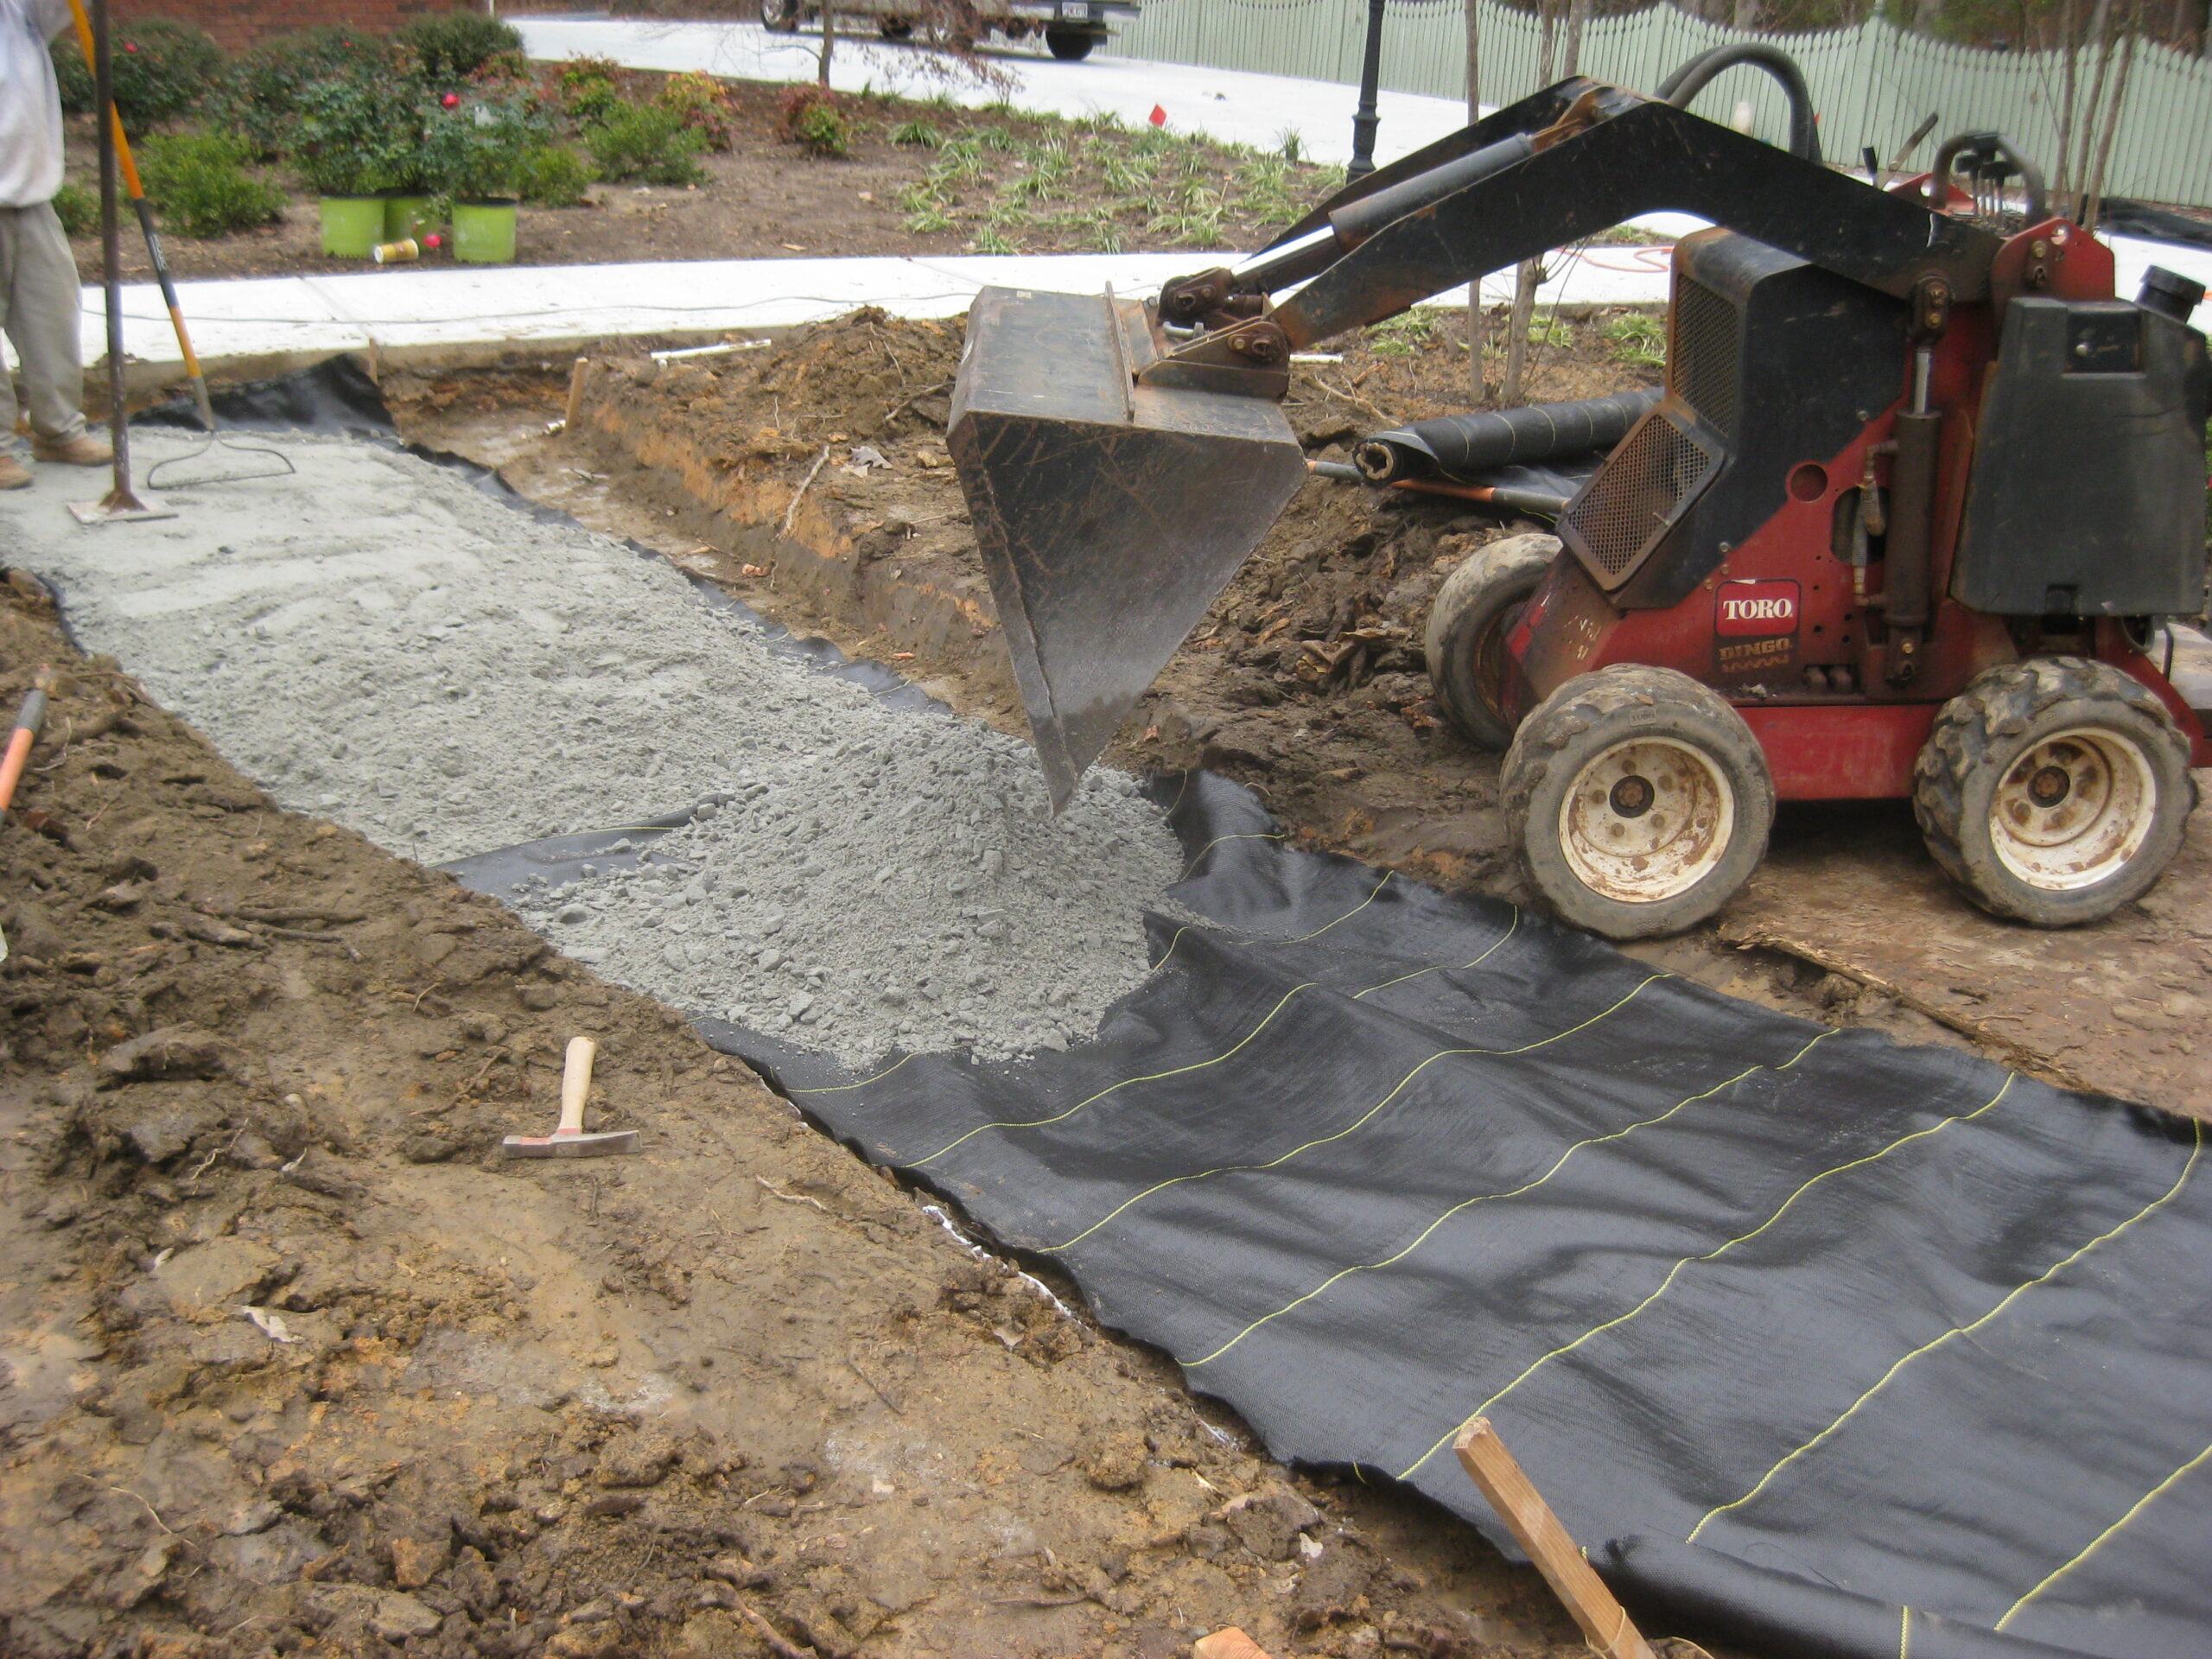
There are several preparation steps you will need to follow to get your land ready for installation. This involves removing any grass, weeds, or excess dirt or debris. You will want to get the ground as flat and even as possible. You then place base material down and use a compactor to create a strong, even base.
After the base is compacted, you then screen sand over the base at approximately 1 inch thick. Use the 2×4 to flatten the sand to create an entirely flat surface. You will then want to start building a perimeter edge (often called an edge restraint) to prevent movement of your paver stones.
After you have a completely flat surface, you will want to install the paver stones carefully. You must place them completely flat. Placing a paver down unevenly can disturb the sand and create an uneven product. The final step is to vibrate the pavers, put sand, and do one last compacting.
As you can see, installation is incredibly time-consuming and takes an expert hand. Call Blooms Landcare today for fast and professional paver installation. Call [phone] today!
